Beginners guide on how to join leather using a saddle stitch.
Level 1 guide. For more information on the levels, see here.
Table of Contents
What is Saddle Stitching?
Saddle stitching is a precise hand-stitching method that employs two needles, each threaded from opposite ends of a single piece of thread. Both needles traverse the same hole from opposing sides, creating a robust, symmetrical stitch. Unlike many machine stitches, where a single broken stitch can lead to the unravelling of subsequent stitches, a saddle-stitched item retains its integrity even if multiple stitches are compromised.
Materials
Leather (a scrap of veg tan will do to practice on).
Waxed thread.

Tools
* is optional
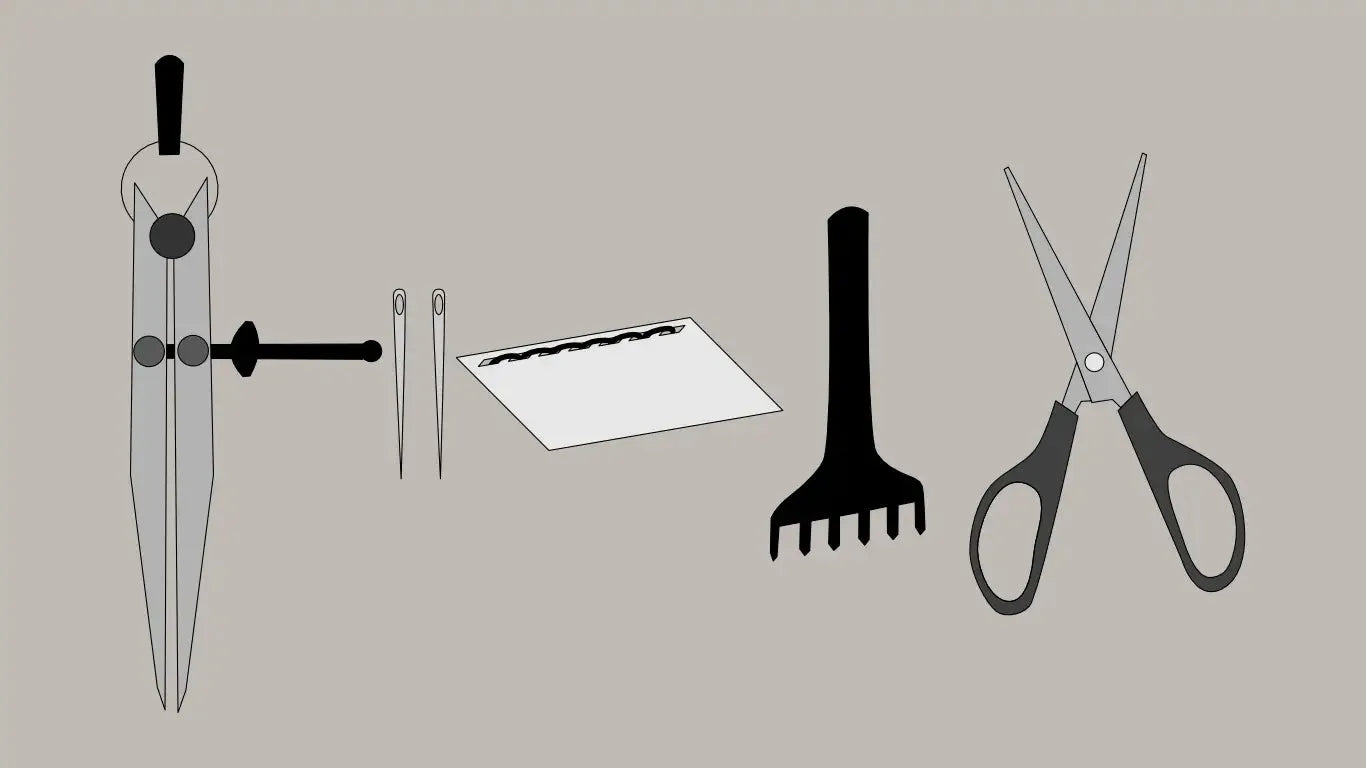
Leather stitching needles x2
Wing dividers
Diamond chisel (at least 2 prongs, but 4 or 6 is preferable)
Maul
Stamping board (i.e. something that you can punch onto without damaging your surface, often an acrylic sheet)
Scissors
Lighter
*Stitching pony
*Groover
*Diamond awl
Tips and Tricks
A stitching pony can be handy to hold your leather still while you stitch, but it is by no means a must.
While stitching, always make your stitches in the same order and way. This will make them more consistent. For instance, if the stitch is started with the top needle, continue to use the top needle for the start of each stitch.
If you don’t have a diamond chisel, you can use a diamond awl, but ensuring the holes are evenly spaced is more challenging.
If you need your stitches to cover a set area, start at the edges and work towards the middle. If you’re lucky, your holes will line up when you reach the middle. If you’re not lucky, don’t despair. Keep punching until you can only fit one more hole. Instead of placing that hole where the chisel says, you should place it in the middle of the gap. You’ll have two stitches that are slightly longer than the rest, but as it’s in the middle, it won’t be as noticeable.
Try not to split the thread as you stitch, as this will make it more difficult to tighten the stitches.
To ensure that the first hole is always at the same distance from the edge, hang the first prong of the diamond chisel over the edge of the leather. The second prong will make the first hole.
Use the last hole in the group as the first hole in the next group. This will ensure consistent spacing of the holes.
Instructions
Punching the Holes
Using either the wing dividers or the groover, mark a line for where the stitches will go (Fig. 1).
-
Put the stamping board under the leather and, using the diamond chisel and the maul, punch holes through the leather along that line.
Hang the first prong of the chisel over the edge of the leather (Fig. 2) so that the first hole is a consistent distance from the edge.
Use the last hole of the previous group for the first prong of the next group (Fig. 3). This ensures the distance between the holes remains consistent.


Threading the Needles
Pass the thread through the eye of the needle (Fig. 4). Do not roll the thread between your fingers, but squeeze it if you need to make it thinner. The wax makes the fibres of the thread stick together.

Turn the needle's point towards the short end of the thread and split the thread fibres with the needle (Fig. 5).

- Push the needle through the gap you’ve created and pull the thread tight (Fig. 6).

Repeat the process so that there’s a needle on either end of the thread (Fig. 7).

Stitching
-
Pass the needles through the first and second holes from the same side and pull tight (Fig. 8 and Fig. 9).
It doesn’t matter if you start from the front or the back. Either works.
Make sure the needles have in or around the same lengths of thread. You don’t want one long and one short.


Take the needle that came through the first hole and pass it through the second hole (Fig. 10). Make sure not to split the fibres of the thread already in that hole.
Take a needle in each hand and tug gently to tighten the stitch.
Take a needle and pass it through the next hole (Fig. 11).


⚠ Each time you have a needle on either side of the leather, as in Fig. 10, pull gently on both needles at the same time (one in each hand) to tighten the stitches.
⚠ It doesn’t matter if you pass the top or bottom needles through the next hole, but whichever side you pick, always pick the needle from that side. This keeps the stitches consistent.
Take the other needle and pass it through the same hole (Fig. 12). Again, make sure not to split the fibres of the thread.
Continue stitching in the same manner down the length of the piece.


⚠ The thread should weave in and out neatly and consistently. Fig. 13 is a cross-section of the leather as if the leather has been cut along the stitch line, and we’re looking down at the cut edge.
Finishing
When you reach the end, reverse direction and return one or two holes to lock the stitches.
Trim the thread close to the leather with scissors (Fig. 14). Leave about 5mm or so of thread.
Melt the remaining thread with a lighter to secure it in place (Fig. 15).
(Fig. 16) Done! Admire your handiwork.


